Lesson 5: Photography
A camera is a tool for learning how to see without a camera – Dorothea Lange
In the previous lessons you learned how people perceive and process visuals (Gestalt and cognitive information processing) and how we can interpret and analyze images (when you learned about visuals and emotions and semiotics). In the next few lessons, you will learn how to design and create visuals. In this lesson, the focus is on photography. You will learn about three basic camera settings; shutter speed, aperture, and ISO. These functions are connected to each other and are the basis of every photograph. These three settings will determine to how much light your photograph is exposed. You will also learn about image composition.
Exposure
Exposure refers to the amount of light that reaches your sensor or film when taking a photograph. When taking a photograph, you want enough light to reach your sensor so your photo is not too dark. A dark image is underexposed. In an underexposed image often cannot see the details of the darker parts of the image. You also do not want to have an image that is too bright so you will not be able to see details of the highlights. An image that is too bright and exposed to too much light is overexposed.
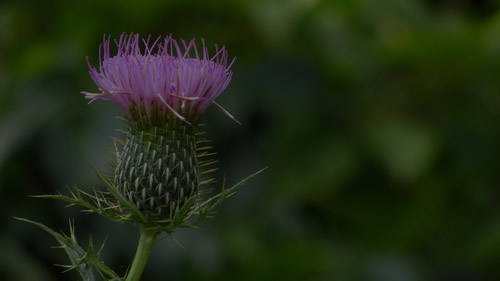 Underexposure
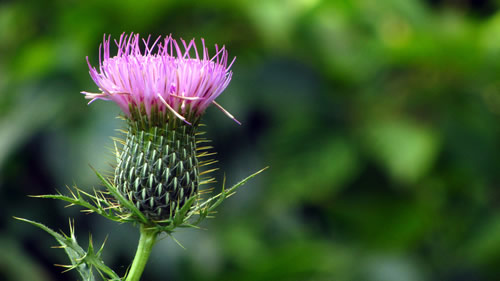 Right exposure
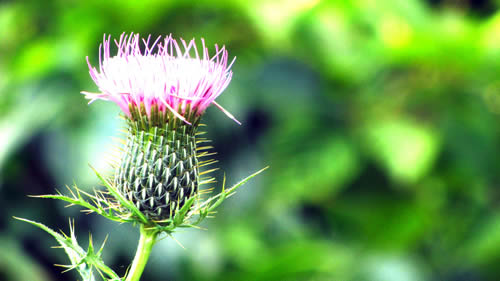 Overexposure
You can adjust the shutter speed, aperture, and ISO to determine how much light you expose your sensor to and to therefore create the photo that you want. There are many different combinations you can use to create the right exposure (the amount of light that passes through your lens), but altering these three settings will also determine the amount of depth of field, motion blur, and graininess your picture will have. In this lesson, you will therefore learn how you can play with these settings to create the picture that you want. Let’s start out with the shutter speed.